SyncBackSE Profile Types
Profile Types
Choose a Backup profile when you want to backup (copy) your new and modified files to another place, e.g. an external hard drive or an FTP server.

Choose a Synchronization profile when you have two directories in which files are changing and you want them both to contain the same files. For example, you may have a directory on your computer containing documents you are working on. A colleague may also be working on documents on his computer. If you want to copy his new and modified files to your local directory, and copy your new and modified files to his directory, then you need to use a Synchronization profile.

What is the difference between Synchronization and Smart Synchronization?
Smart Synchronization keeps track of what changed the last time the profile was run so that it knows if a file has been deleted, created, or changed since the last profile run. This helps you (and SyncBackSE) make an informed decision about what to do when something changes. It also gives you a comprehensive choice of options on what to do with a file when specific things happen, e.g. the file is deleted for the source but not the destination. Regular Synchronization does not keep track of changes and has a limited set of options. Whenever possible you should use Smart Synchronization instead of regular Synchronization.
|
Note that the term Synchronization is also called Mirroring by some programs. |
Choose a Group profile when you want to create a profile that contains other Backup or Synchronization profiles. This allows you to run many profiles at once.
So what is the difference between a Backup and a Synchronization?
|
A backup copies files in one direction: from the source to the destination. A Synchronization copies files in both directions: from the source to the destination, and from the destination to the source. |
Creating and Importing Profiles
A profile stores information about the folders or files you would like to backup or synchronize using SyncBackSE.
|
Once you've created a profile you'll be able to click a single button on the toolbar to carry out a specified task in the future. |
Click the "New button located on the lower left of the program window:

Alternatively, choose "New" from the Profile menu:

The Profile Wizard window will appear. Enter a name for your new Profile:
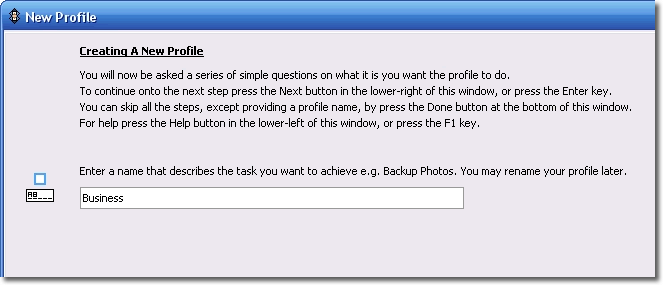
Click "Next" located at the lower right of the window.

For this example we are creating a backup profile which is the default option:

The wizard will ask whether you wish to use FTP (File Transfer Protocol). FTP is used if you are backing up over the Internet. As the default "No FTP" option is selected by default, you need only click the "Next".

After clicking "Next" the wizard will ask whether you wish to compress your files into a zip. Once again, the default option is being used. Here is the screenshot of the "No Zip Files" option:
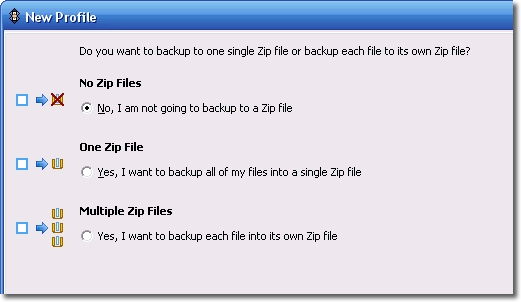
Click "Next". The wizard now requests you enter a name for the source (where you are copying your files from), and that you select the location of the source by clicking the folder icon button:

When you click the folder icon a "Browse For Folder" window will appear in which you will locate your source. Click OK:
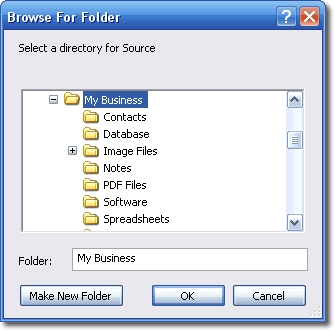
The folder selection field will now show the full path to your source.

Click the "Next" button. The choose Destination window will open.
Enter a name and select the location for where you wish to make a backup of your files to (the destination) in the new screen:

When you click the folder icon a "Browse For folder window will appear in which you will locate your destination. Click OK:
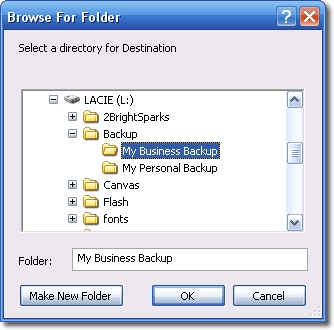
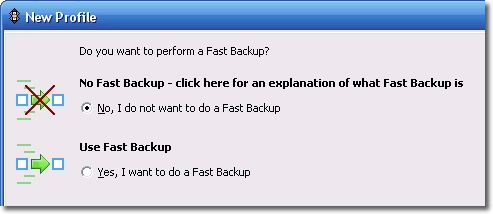
After clicking the "Next" button on the destination screen you will be asked whether you wish to make a Fast Backup. Choose the "No Fast Backup" default option:
Click the "Done" button:

You have now setup your backup profile. A small informational window will appear informing you that the main Profile Setup Window will open:

The Profile Setup Window allows you to check your choices.

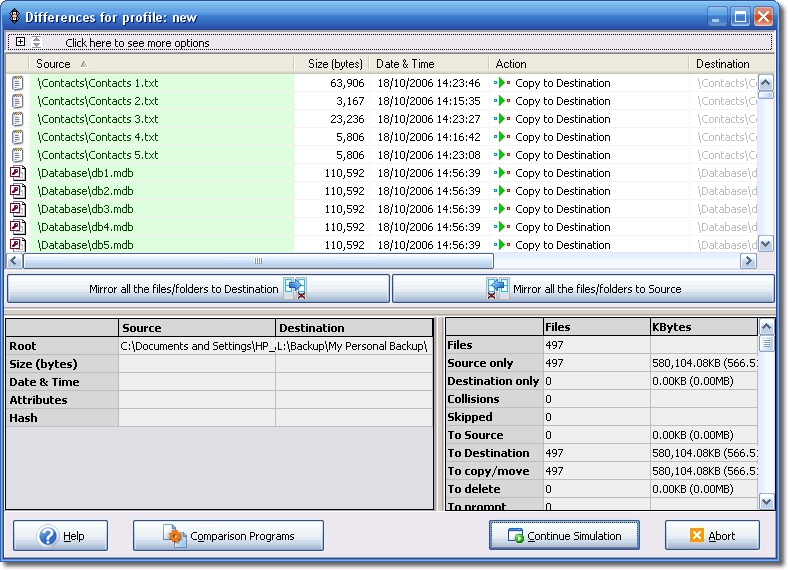
Click "OK". A Window will open which asks whether you would like to perform a simulated run. This allows you to check the profile functions correctly without actually copying any files. Click "Yes":

The Differences window will appear that shows all the files that would be copied in an actual run. Click "Continue Simulation":
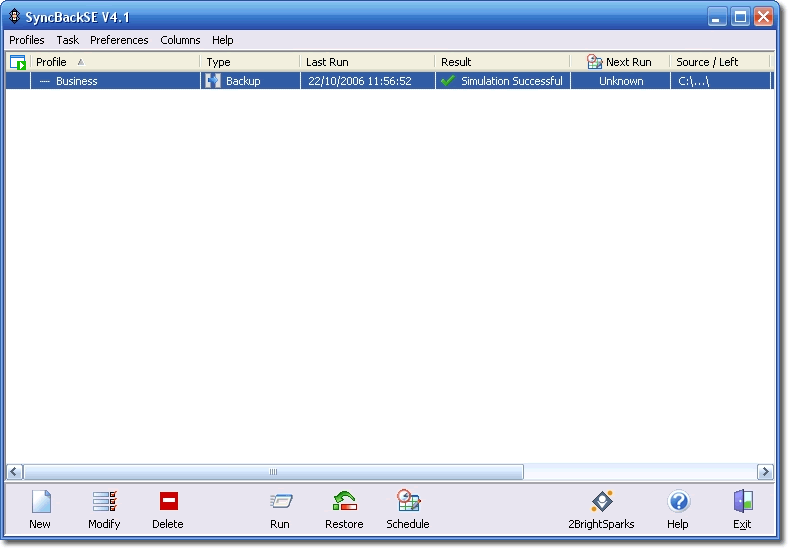
The main program window will now open. You may now run this backup profile at any time by selecting a profile then clicking the "Run" button:
The next section of this help file shows you how to 'Run' the Profile.
All Content: 2BrightSparks Pte Ltd ⌐ 2003-2006


